What better way to spend the summer than staying indoors to play video games? Such ancient wisdom is at the heart of my most recent purchase(s). After owning nothing but laptops for close to a decade, I've finally decided to build a gaming PC.
Parts list
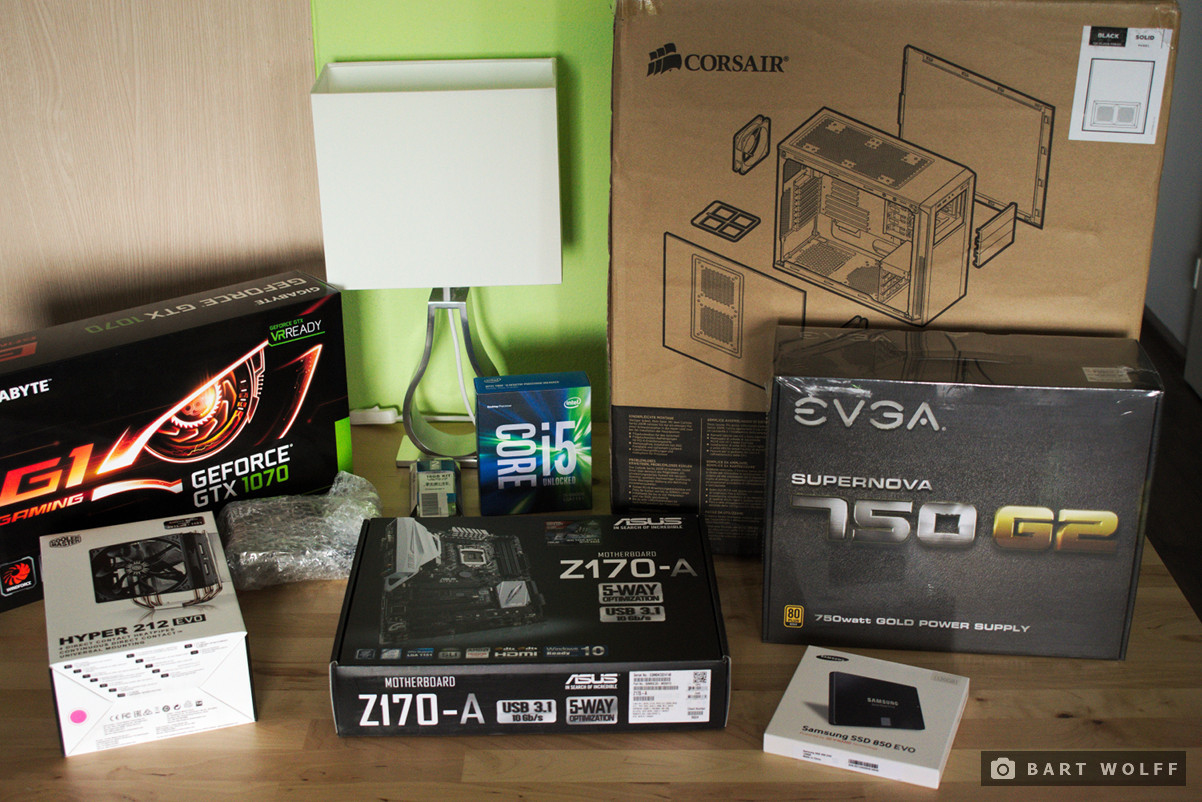
After careful online research, I've decided on the following parts:
- Motherboard: ASUS Z170-A
- CPU: Intel Skylake Core i5 6600K
- CPU cooler: Cooler Master Hyper 212 Evo
- Memory: Crucial 2x8GB DDR4 2133MHz
- Graphics: Gigabyte GeForce GTX 1070 G1 Gaming 8GB
- Storage (OS): Samsung 850 EVO 2.5" SSD 120GB
- Storage (games): Seagate 3.5" HDD 2TB
- Power supply: eVGA SuperNOVA 750 G2
- Case: Corsair Midi Tower Carbide 200R ATX
It should look roughly like this:
Now to put it all together...
We'll start by sticking the CPU onto the motherboard:
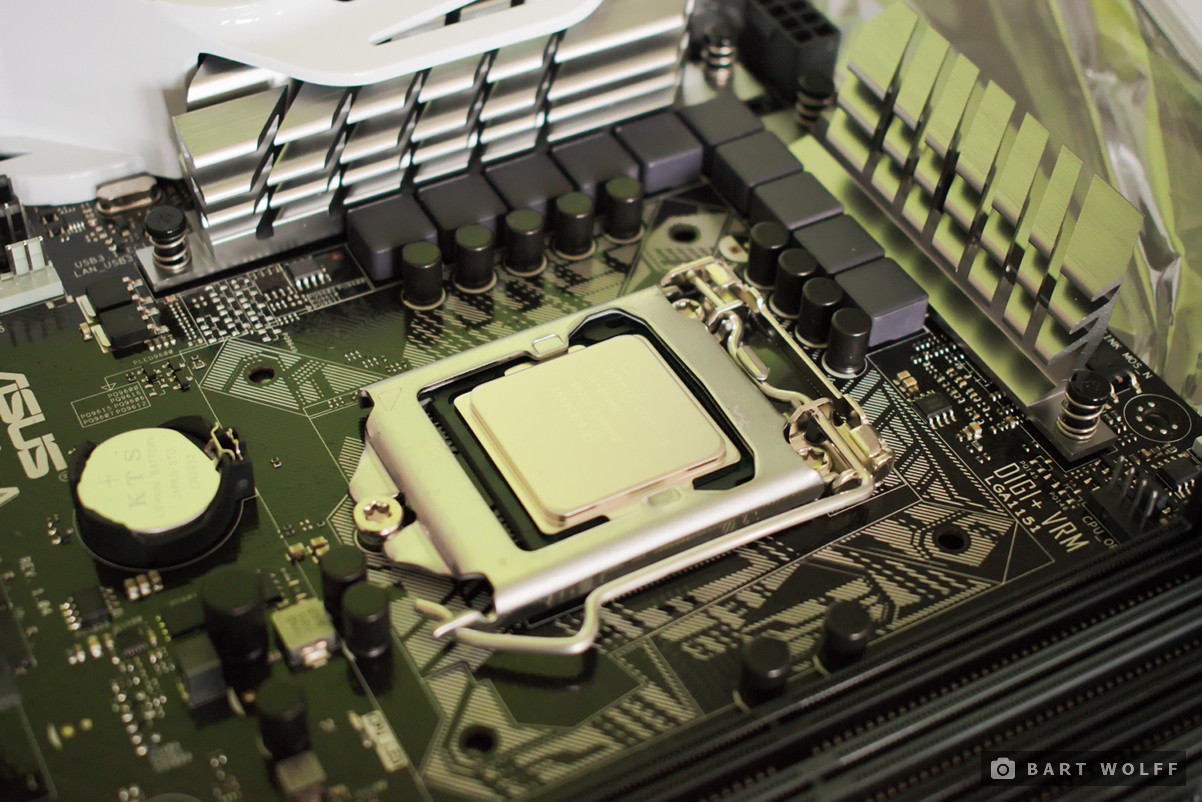
I was quite worried about messing this step up right out the gate, but the included plastic guide piece makes it really easy to do. Also, a CPU is a lot heavier than I'd expected.
Next up: inserting the RAM sticks:
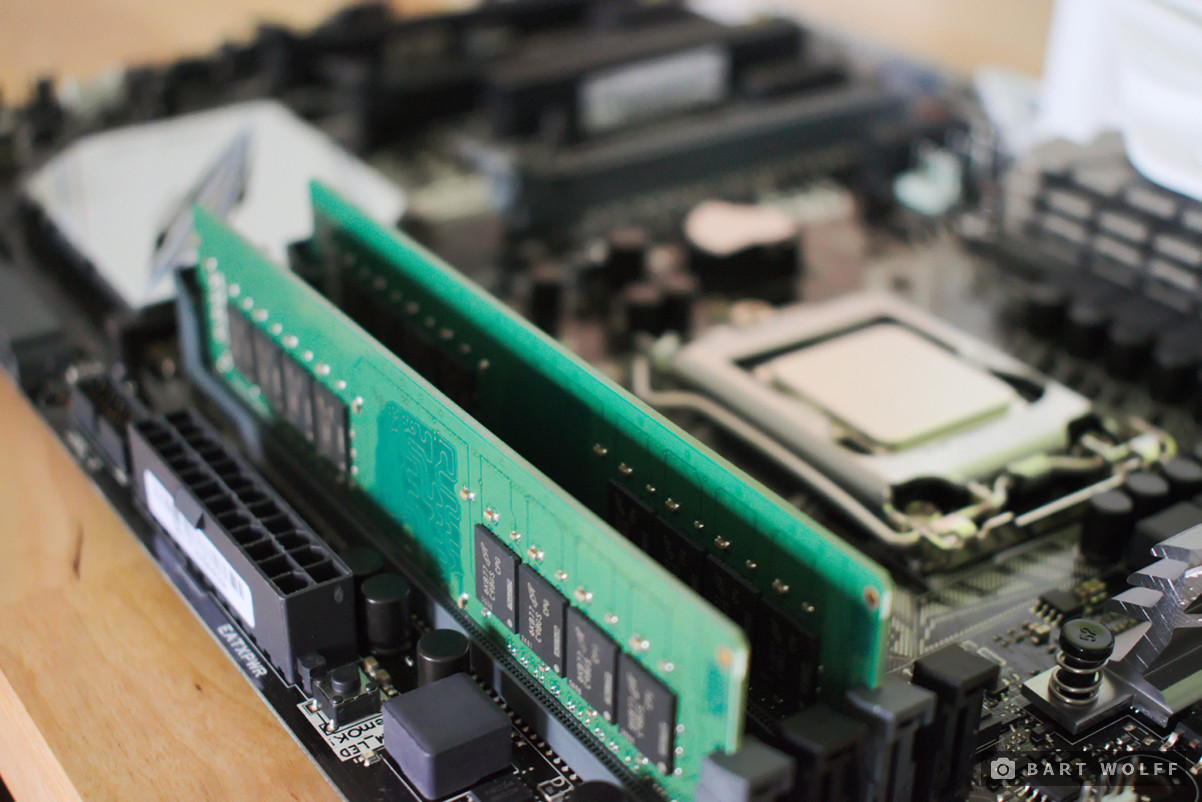
Nothing remarkable here, I've swapped out RAM lots of times and it's one of the easiest things to do.
Not so much for this next part: screwing on the CPU cooler:
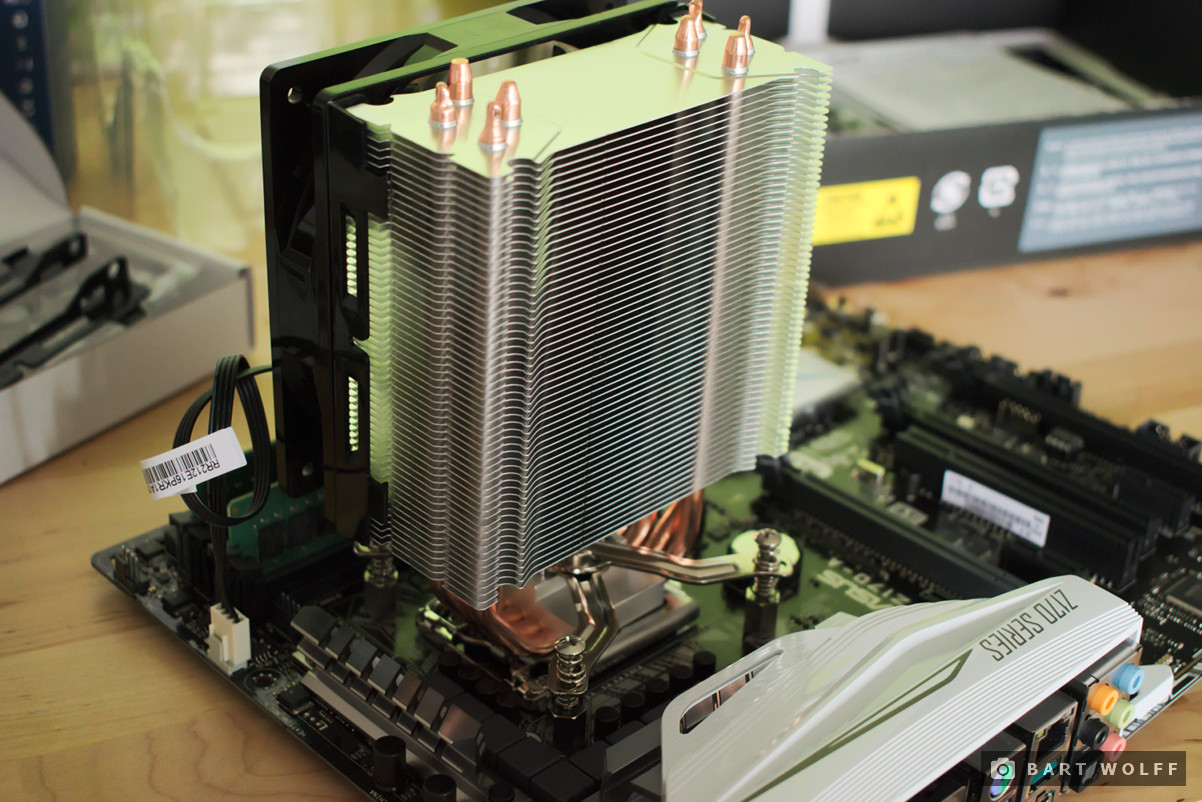
First of all, that thing is huge. Secondly, it's also very sharp. This thing drew blood. Thankfully nothing got on the components. Applying the cooling paste was pure guesswork: I had no idea how much was needed. Consensus online seemed to be that in this case, less is more. So I just used a couple of drops. Screwing on the cooling tower took a lot of fumbling, but as you can see, I got there in the end.
At this point, we can start preparing the vessel:
It's quite a discreet tower, but it gets the job done.
We start by inserting the power supply:
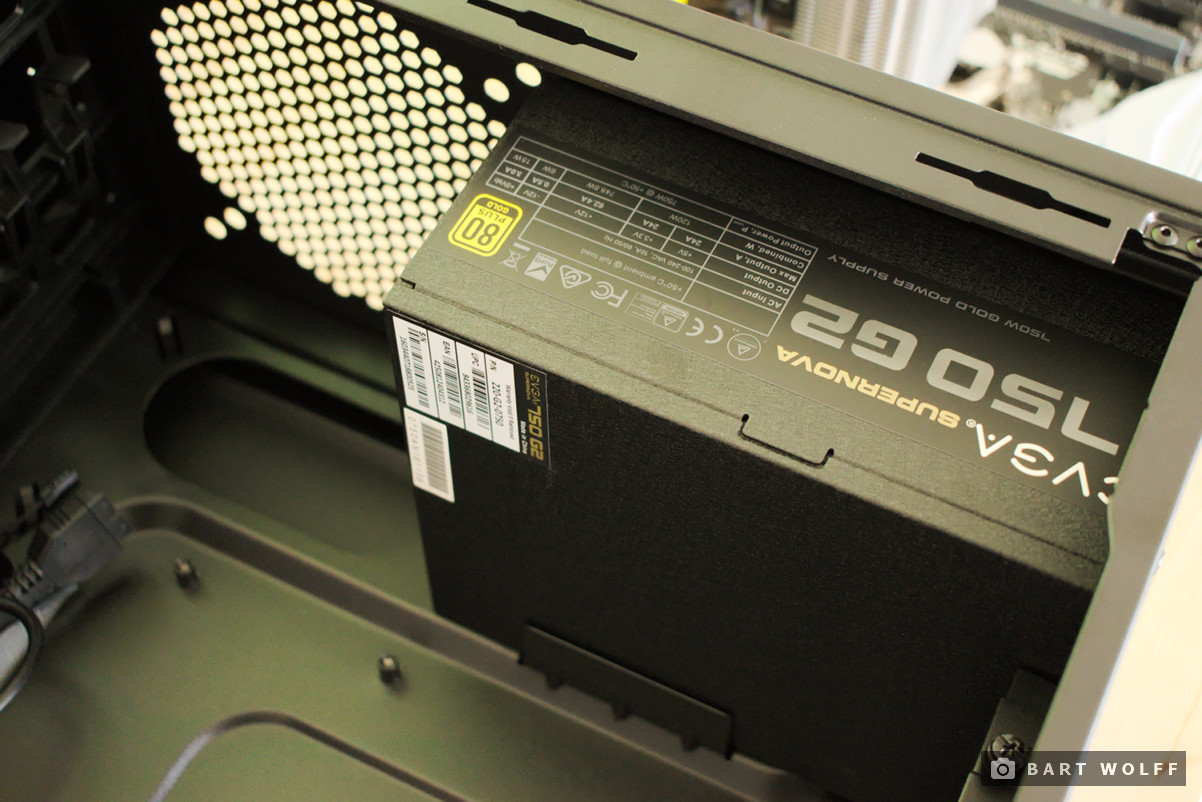
It slides in place nicely at the bottom of the tower. This thing is probably overkill for my current setup, but I like to think of it as being future proof.
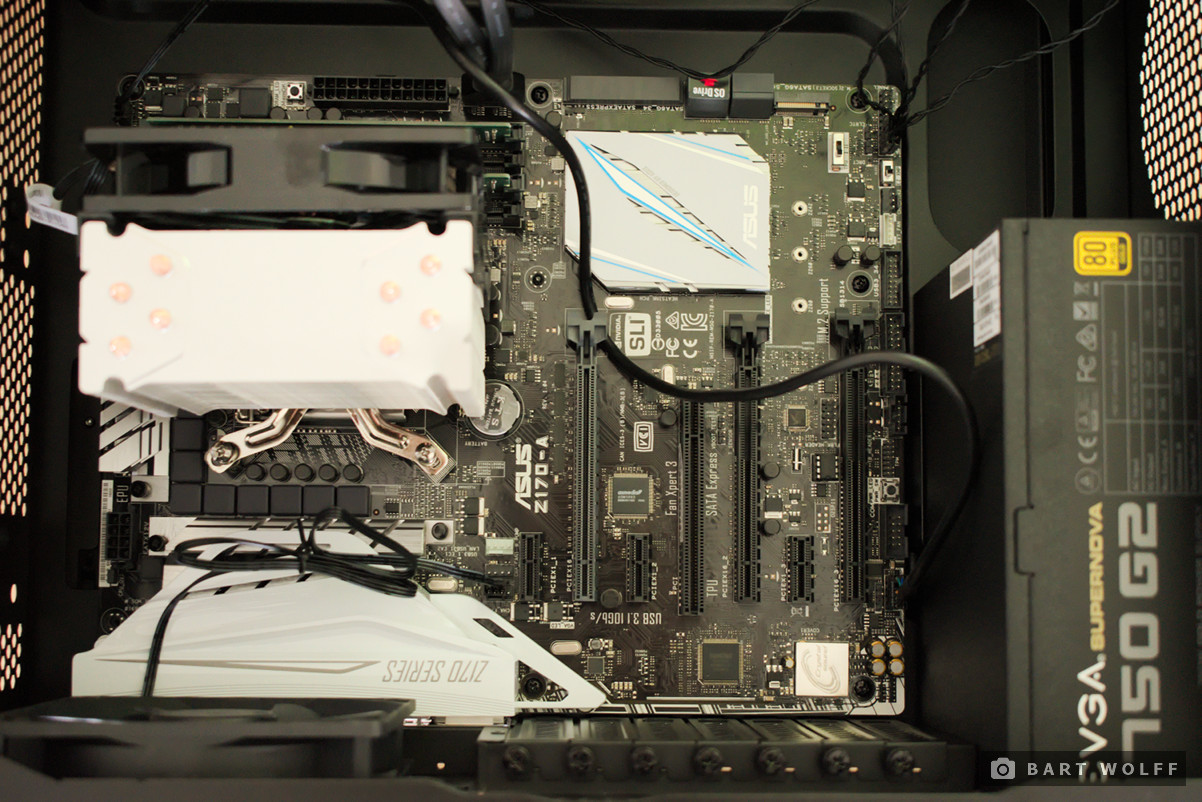
Next, it's motherboard insertion time:
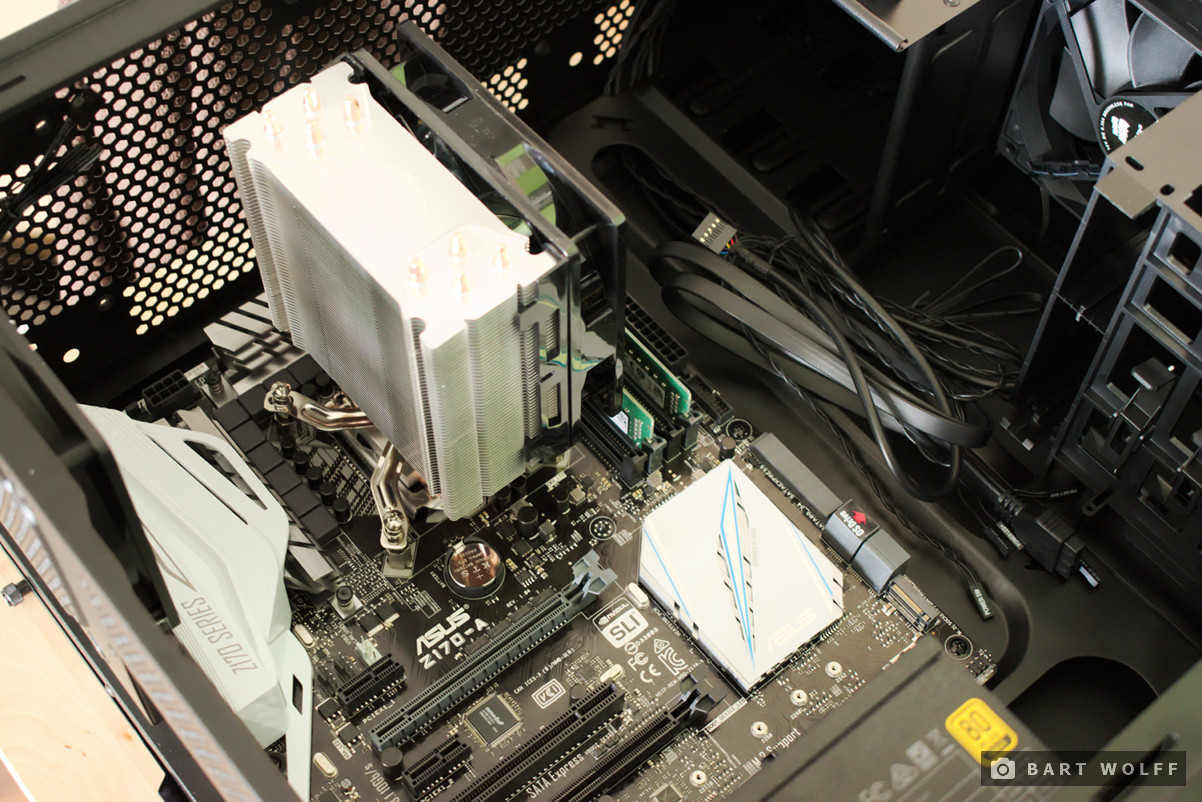
There was some fumbling in getting all the ports lined up with the face plate, but other than that this step was pretty straightforward.
We can then connect the case (fans, buttons, LEDs) to the board:
There was some confusion due to the fact that the manuals for the case and motherboard use slightly different terminology. Thankfully, I'm an engineer, so I just powered through on panicked Googling sheer brain power alone.
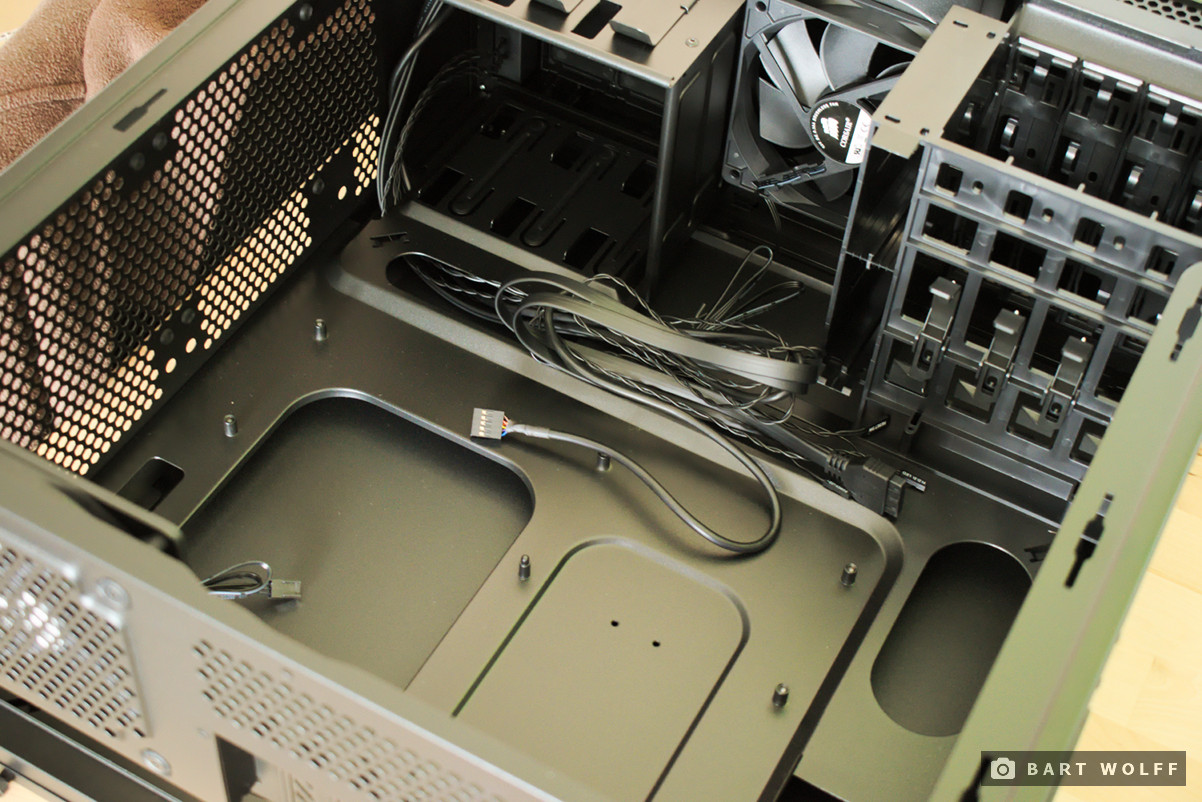
After sorting that mess out, we proceed to insert the drives and hook up the power supply:
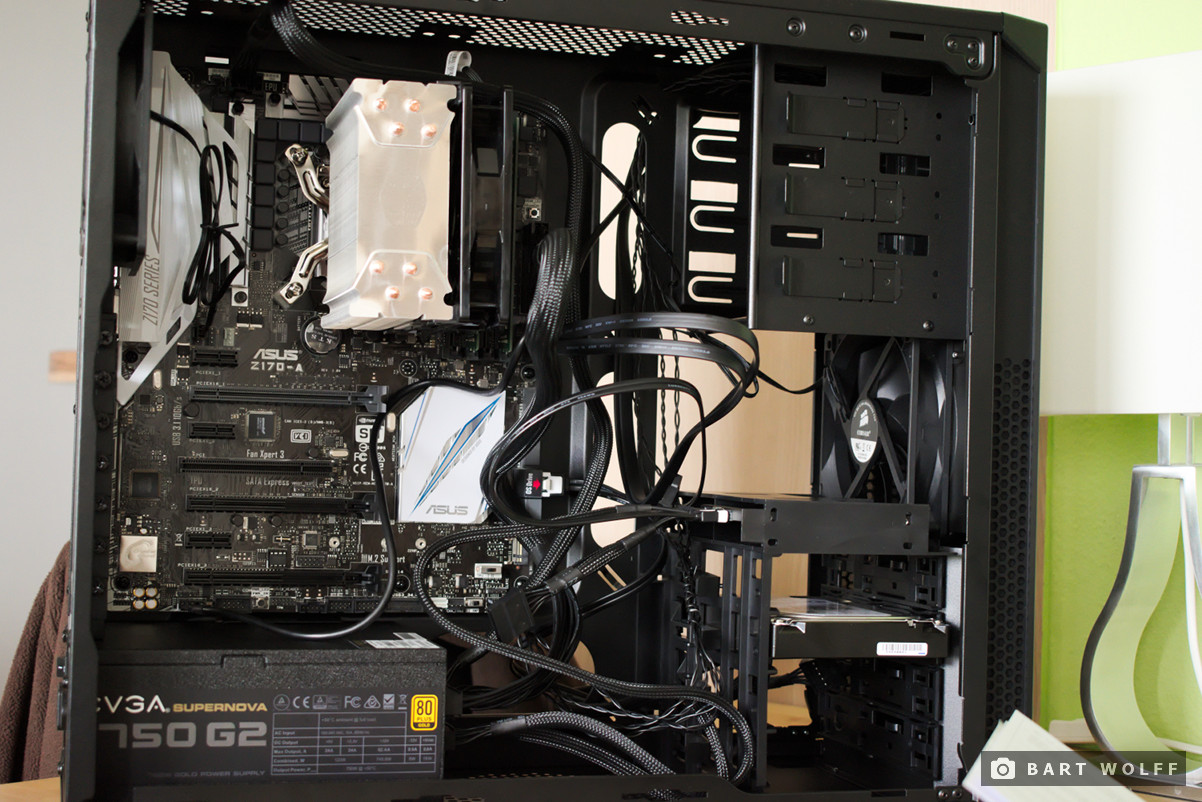
Look at that beautiful wiring job!
Finally, we insert the graphics card:
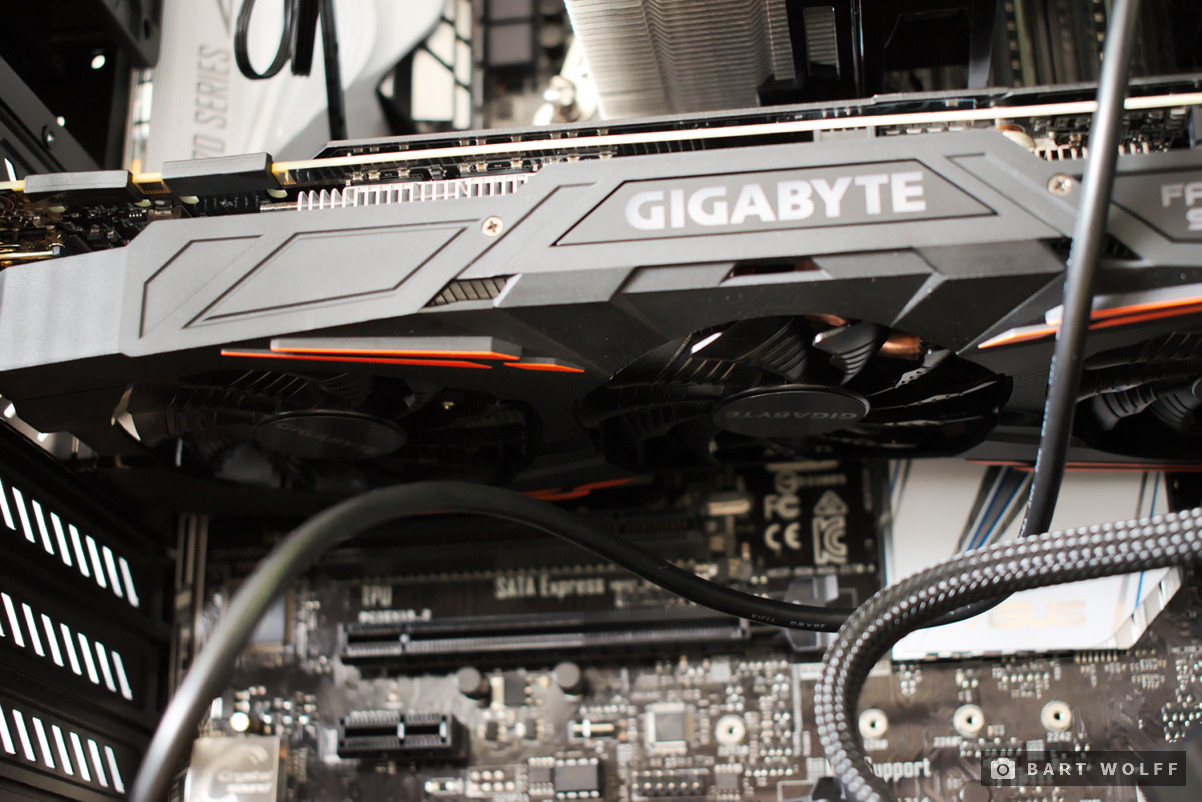
If it's not apparent from the picture: that thing is massive. It takes up two rear slots on the tower. Wiring had to be pushed out of the way. Seas were parted, villages were moved, and animals driven out of their natural habitat to accomodate this beast.
...and then, the world goes quiet.
And the display was connected to the VGA port.
And the peripherals were plugged into the USB ports.
And the power supply was jacked into the wall socket.
And the power button was pressed.
And there was light.
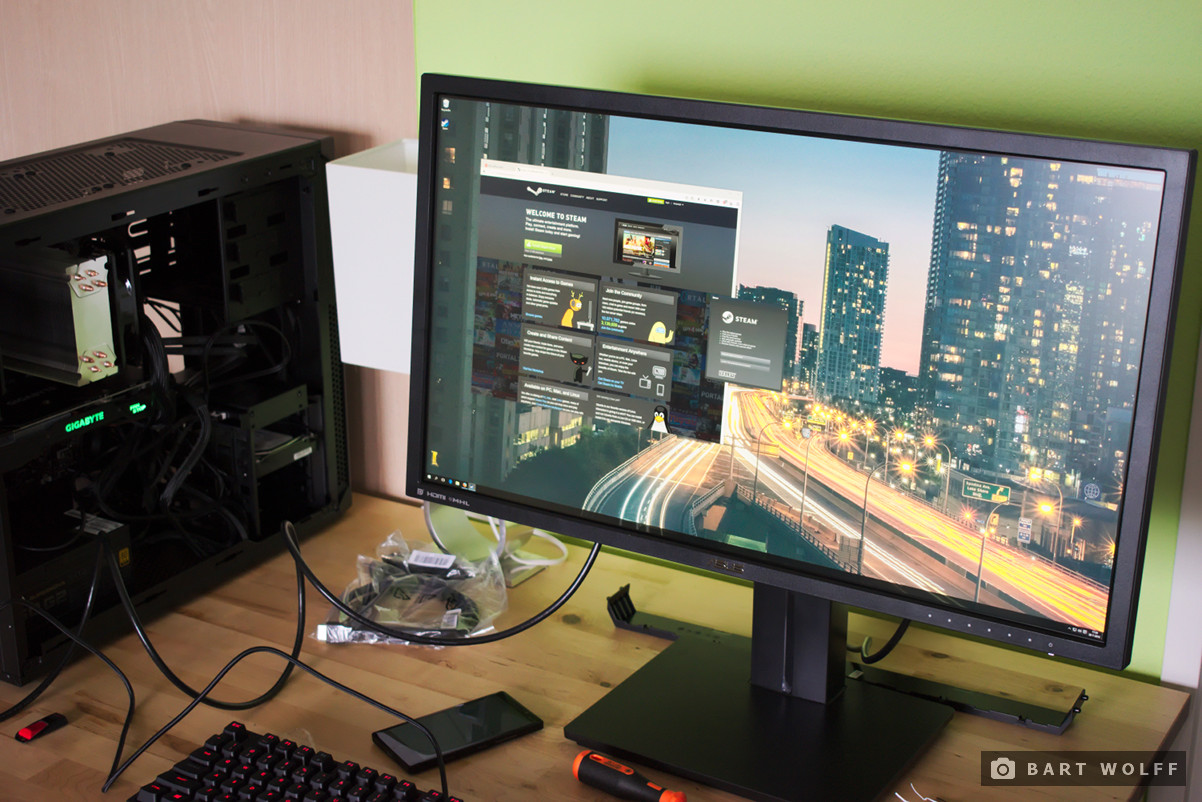
Phew. That only took me a whole day. But doesn't she look great? Anyway, that's enough work for one day. Now it's time to play.
Post forma
So, after assembling The Machine, a few things happened:
- I was disappointed by the Asus 4K monitor that I had originally bought for this PC. I found the picture quality mediocre and I don't even actually use 4K when gaming. So, I sent it back and got a Samsung 29" curved ultra-wide instead. Fantastic decision, as this new display looks great and is much more immersive.
- The graphics card I got turned out to be defective. It had some faulty VRAM, so I RMA'd it. Thankfully, the shop still had a couple in stock and the new one I got has been working great.
- I purchased a Logitech G502 gaming mouse. It looks like a stealth fighter jet, contains a bazillion buttons, and works absolutely flawlessly. Recommended!