As someone who’s into astronomy but is also quite lazy, I occasionally set up my DSLR on my balcony to take some shots of the night sky. It’s a low-effort way of getting some nice views, in spite of all the light pollution we’ve got going on here. Until recently, I worked with a static tripod, which means I was very limited in my exposure times. To rectify this particular shortcoming in my setup, I recently got myself an iOptron SkyTracker Pro, which is a very affordable camera tracking mount. I thought I’d use this post to share some of my first impressions.
Setup
The SkyTracker Pro package consists of the following:
- The camera tracker.
- An Alt-Az base.
- An illuminated finder scope.
- A USB charging cable for the tracker.
You will also need the following, which the package does not contain:
- A tripod.
- A ball head for attaching your camera.
So, in addition to the SkyTracker, I got an iOptron tripod and ball head. Here’s what the setup looks like, with my DSLR attached:
![]()
Overall, the gear feels like it has a very solid build quality, and is easy to work with. I’ve used this setup a few times at this point, and so far I’ve had zero problems setting it up and taking pictures.
Polar alignment
The SkyTracker works by aligning it with the Earth’s rotational axis. It contains a small motor that counteracts the Earth’s rotation. When properly aligned, anything mounted to it will remain aimed a fixed point in the sky. Mount your camera, and it allows you to take very long exposures without star trails appearing in your photo. At least, that’s the theory.
To perform polar alignment, you use the included finder scope to aim the SkyTracker at Polaris, the pole star. Polaris is very close to the celestial north pole, but it’s not exactly on top of it. So you actually never aim exactly at Polaris, but always a little to the side of it. Which side to aim at depends on your location, and the current date and time. Fortunately, there’s an App for this stuff as well.
The included finder scope contains a set of illuminated crosshairs, which work great. Unfortunately, the scope itself is a simple, straight design. Polaris is fairly high in the sky (about 52° for me), so when you’re aiming at it, that automatically means the scope’s eyepiece is aimed firmly at the ground. This puts you in an awkward position of having to get on your knees in order to look up into it. Not the greatest ergonomics of all time. Sure, you only polar align once, maybe twice a night, but I still feel an angled scope would be a great improvement.
Tracking
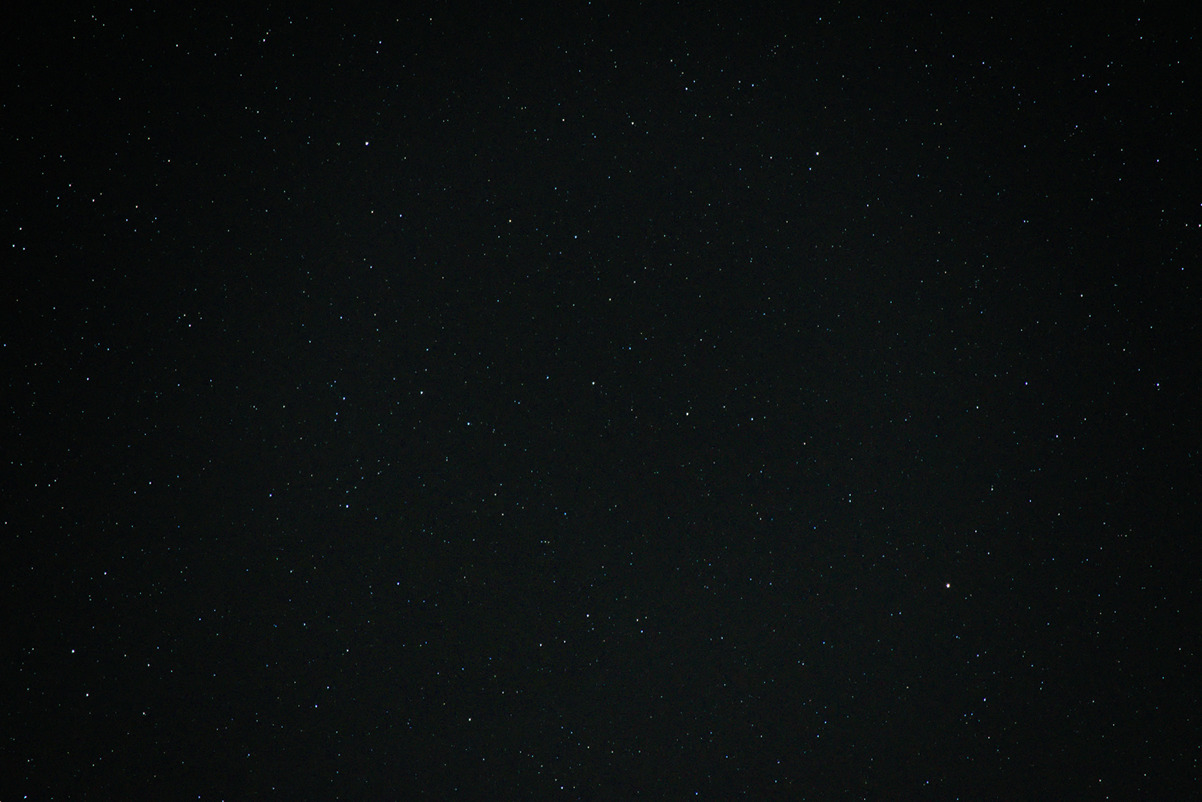
Once you’re polar aligned, you can start taking pictures. Like I said, in theory a perfect alignment lets you take exposures that are as long as the night itself. In practice, it’s virtually impossible to achieve this. However, it’s actually surprisingly easy to get it “good enough”. Using only a rough polar alignment, I was able to take 20 second exposures at 200mm, and only got some very minor visible trailing. Here’s a single, 20 second frame:

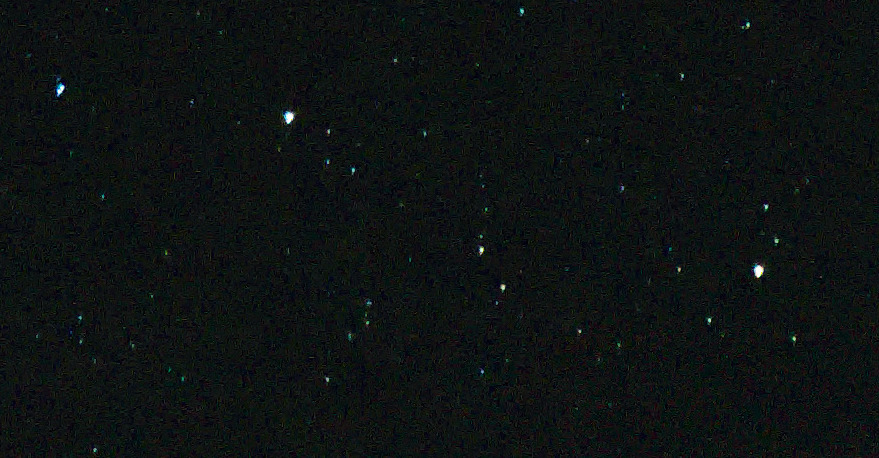
You’re probably wondering, “what trailing?” Well, here’s a crop at 100% size:

Like I said, very minor trailing. A shot like this would still be perfectly acceptable to me.
Exposures from the same night that were 10 seconds long show no trailing whatsoever. So I’d say the tracking works pretty well. If I’d bother with better alignment, I’m sure I could easily take minute long exposures. However, in my case the light pollution starts to wash out all the stars at that point, so I really have no need for it right now.
Samples
I have some recent shots taken with this new setup over on my astronomy page. Please keep in mind that these are all taken under heavy light pollution, and judge accordingly… :)