Exactly 5 years ago (to the day) I built a gaming PC. That PC has been my faithful gaming rig ever since. I’ve never upgraded even a single part, because it never seemed necessary. It could always run whatever I threw at it. But when upgrading finally did start to seem necessary, so much time had passed that it almost seemed like a waste to sink more money into such an old machine. I would have to upgrade so much stuff (e.g. upgrading the processor to a recent one required upgrading the motherboard, etc), that it made more sense (to me anyway) to just do a complete rebuild. It would simply be a matter of when.
Well guess what? It’s that time.
My old PC, while still decently capable even today, is starting to show its age. No longer is it able to run AAA games at maxed settings, and certainly not at the 1440p (ultra-wide, so 3440x1440) at 144hz that the display I bought last year is capable of. The CPU is a constant bottleneck, the GPU can’t drive my display to its full potential, the motherboard is hopelessly outdated… it’s time to upgrade. And while I went with a solid mid-range PC last time around, this time my budget was slightly more… generous.
So, let’s go on a journey through the hell that is building your own PC.
Parts
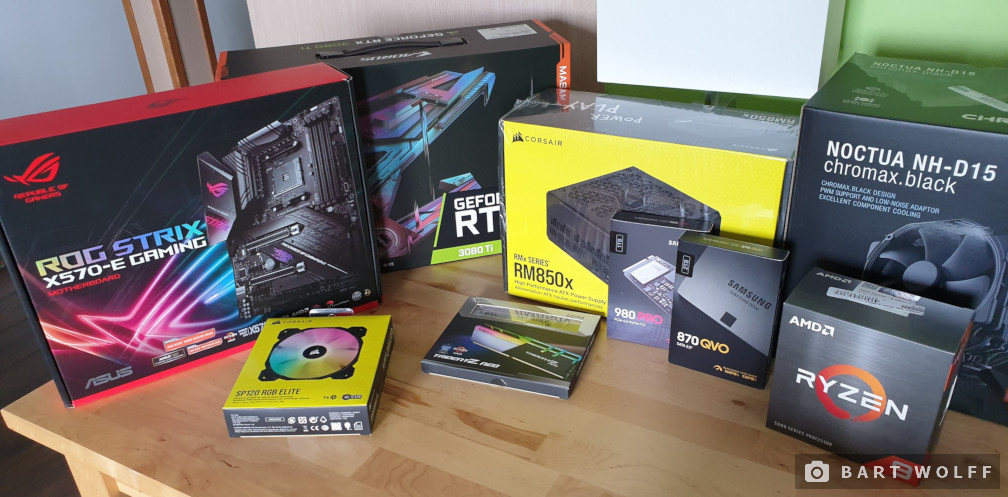
Here’s what we’ve got to work with today:
- Motherboard: Asus ROG Strix X570-E Gaming
- CPU: AMD Ryzen 9 5900X
- CPU cooler: Noctua NH-D15 chromax.black
- Memory: G.Skill Trident-Z 2x32GB 3600MHz
- Graphics: Gigabyte AORUS GeForce RTX 3080 Ti MASTER 12G
- Storage (main): Samsung 980 PRO NVMe SSD 1TB
- Storage (secondary): Samsung 870 QVO SATA SSD 2TB
- Power supply: Corsair RM850x PSU
- Case: Corsair iCUE 4000X RGB Tempered Glass
Like I said, a somewhat more generous budget this time.
The easy parts
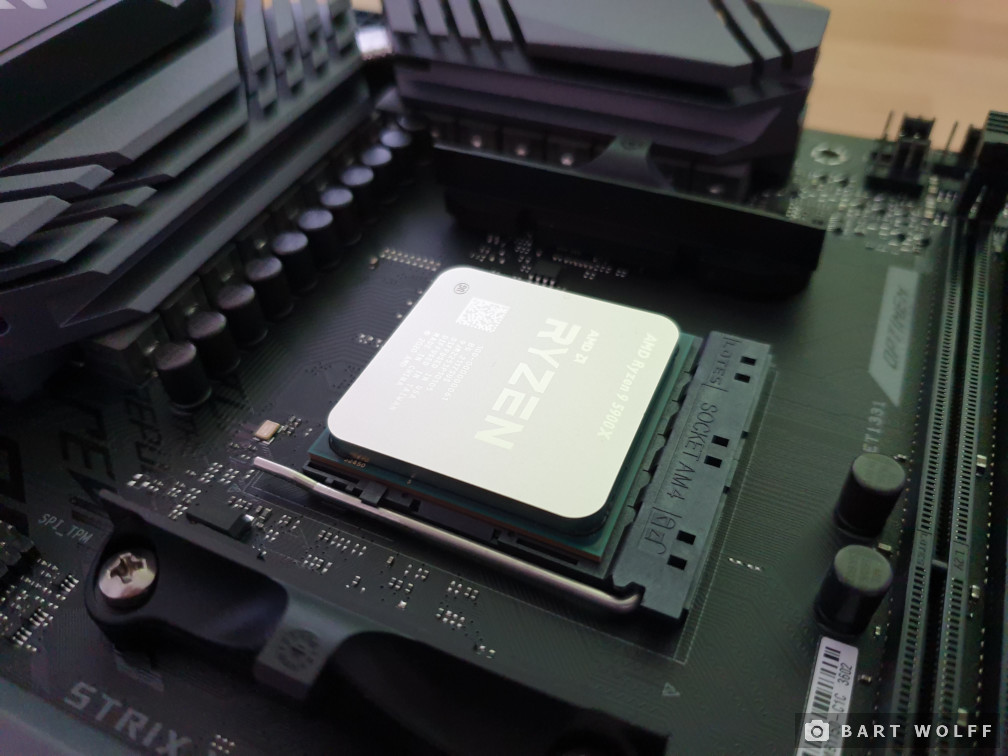
We start off by gently inserting the CPU into the motherboard.
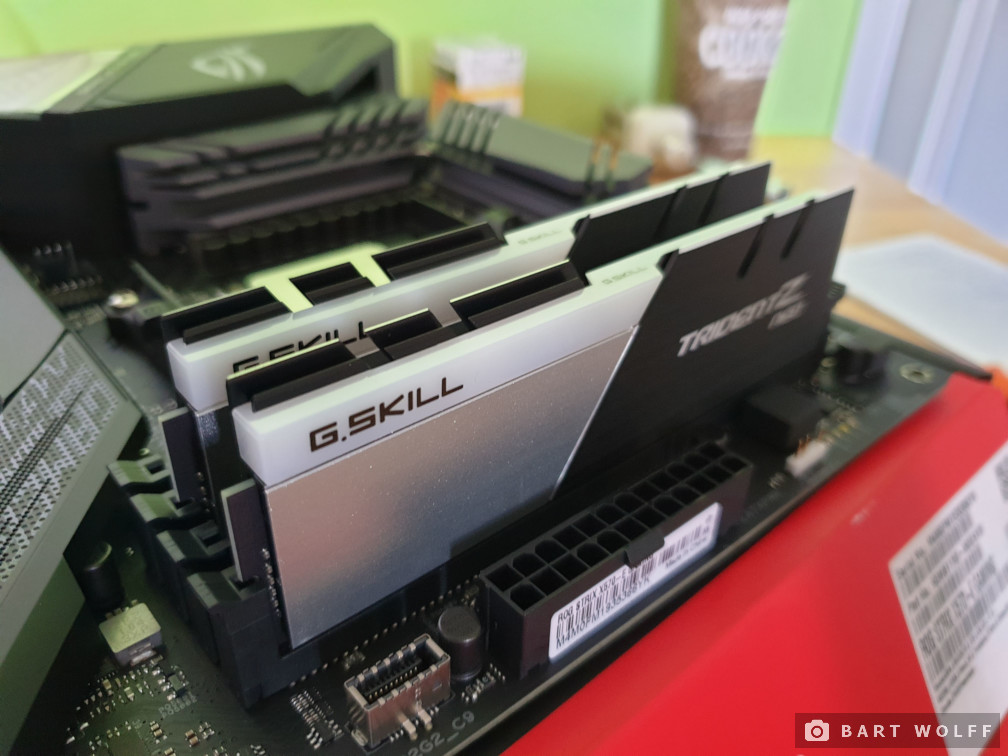
We then insert the RAM, making sure to use the correct slots as indicated by the motherboard manual.
Next up is the NVMe SSD, which gets mounted directly onto the motherboard. I was initially a bit lost as to where the NVMe slots were even located, until I realized I had to unscrew and remove some of the cover plates to access them.
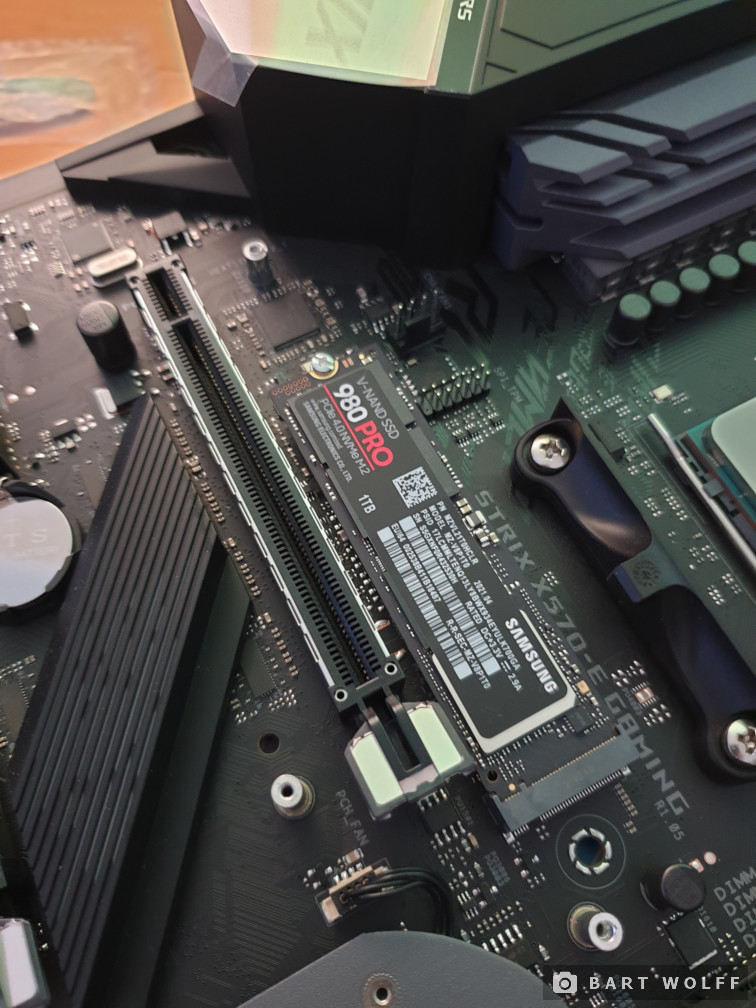
These covers also act as heatspreaders for the NVMe, for whatever that’s worth.
Speaking of heat, the CPU cooler is next. And boy, it’s a big one.
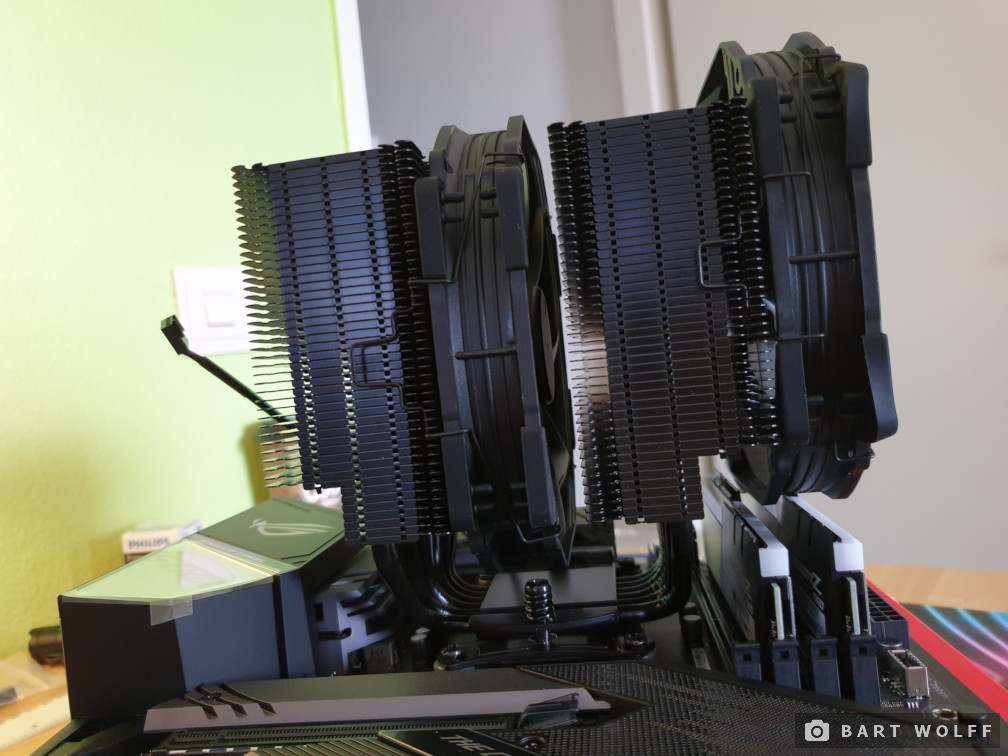
Mounting this was surprisingly easy (the backplate was already in place), but the process also involved applying the dreaded cooling paste to the CPU, which I’m never really comfortable with. After watching a few tutorials on YouTube, I think I got the right amount. Maybe even a bit extra, as it’s apparently hard to overdo.
As you can see in the photo above, I had to mount the (optional) secondary fan with a bit of an offset in order to fit it in above the RAM. But hey, look at how perfectly the fan cable fits between the RAM slots:
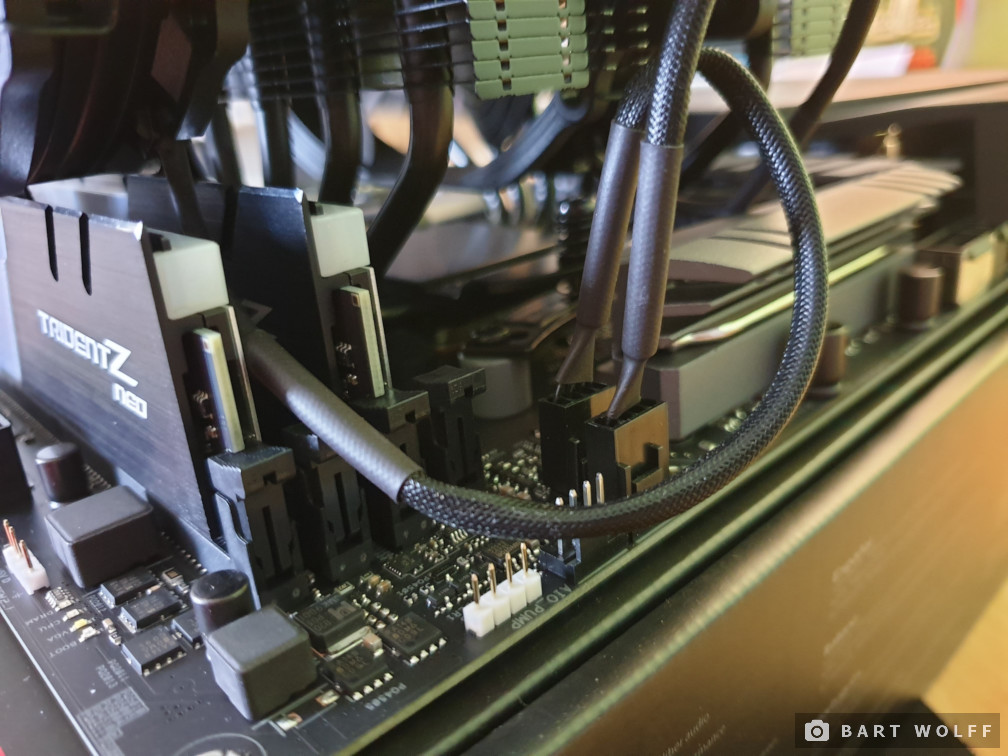
Lucky!
Now that we’ve mounted pretty much all we can onto the motherboard before putting it into the case, it’s time to prepare the Holy Vessel:
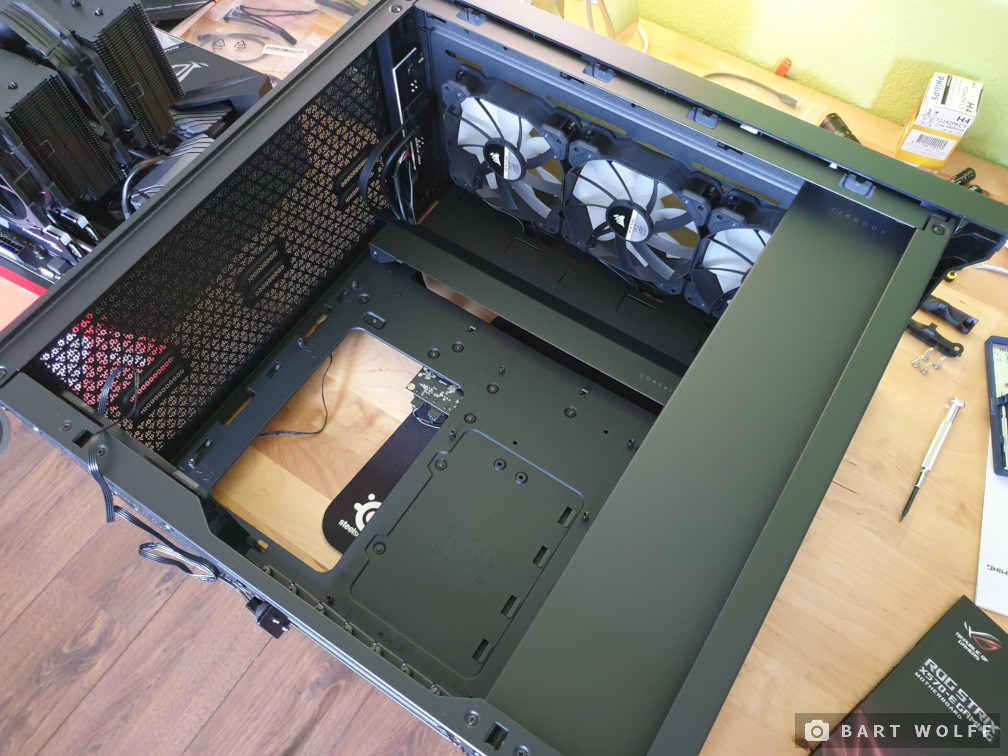
There’s already 3 case fans pre-installed, but we’re going to mount an extra one in the back to serve as an exhaust. In case you don’t know how fans work, there’s helpful indicators on the fan casing to indicate which way it’s blowing/sucking.
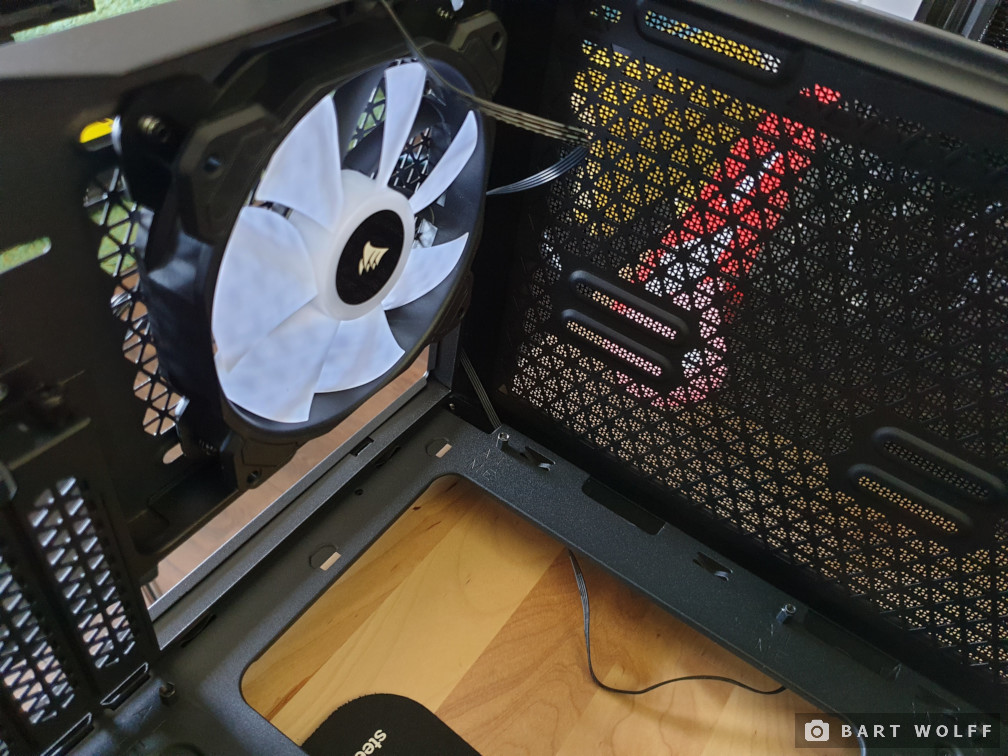
Easy enough. But also, unfortunately, the last of the easy steps.
The hard parts
Now things are getting annoying. More annoying than I remember my last build being.
This next photo was taken after mounting the motherboard into the case, and doing some preliminary routing of various cables and wires.
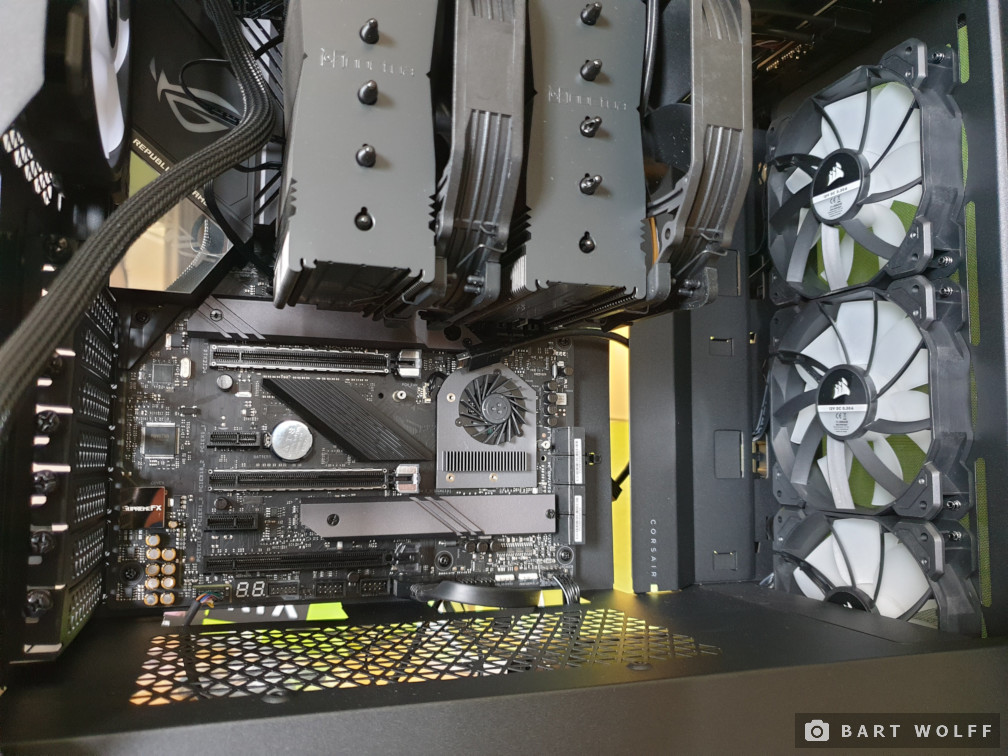
What the photo doesn’t show is the many frustrations along the way. After lowering the board into the case, I realized that several ports and screws near the top of the board would be extremely annoying to access. I couldn’t properly plug in the CPU power cables with the board in the case, so I decided to plug them in before board insertion, but that in turn limited my cable routing options as well as my access to the top-left motherboard screw.
I put the most hard-to-reach screws in their holes before inserting the board, but that in turn made it more difficult to align the board with the holes, as the dangling screws kept getting in the way. I genuinely struggled with this for a few frustrating minutes before finally getting it all aligned.
Moving to the back, here’s the A+ mounting job I did on the secondary SSD:
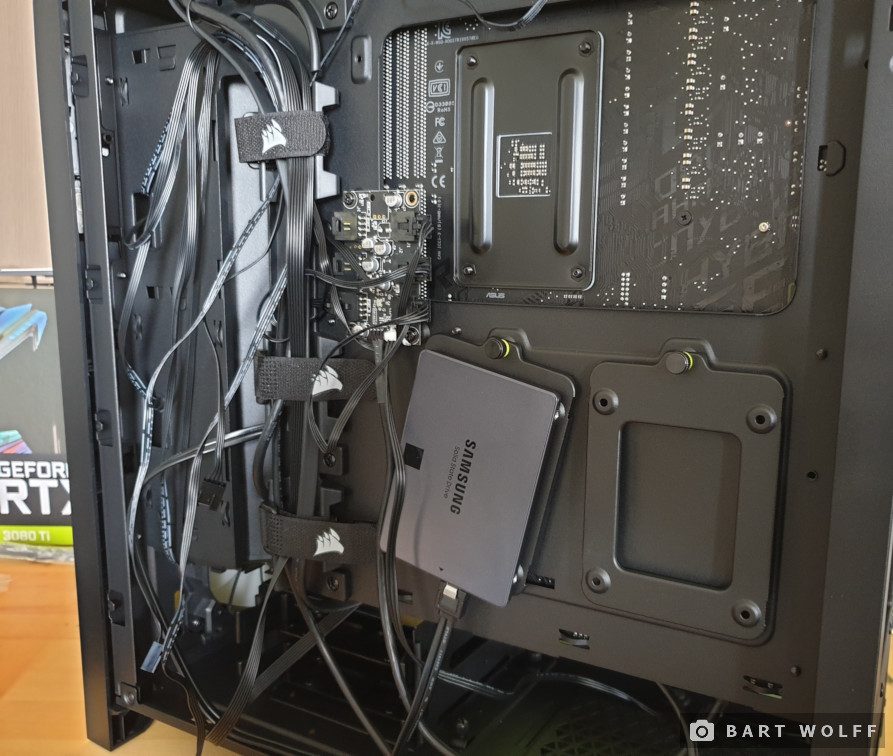
The chip in the center is the iCUE controller for the RGB in the fans. It does not, however, control the fans themselves. I sadly found out that my motherboard only has two case fan headers, while I have 4 case fans to work with. So I had to order and wait for a stupid €8 splitter to get everything hooked up.
After this point, things get a bit blurry.
I remember lots and lots of frustration, cursing, and increasing pleas for divine intervention as I struggled for more than an hour to mount the graphics card while simultaneously trying to route the various power cables into the basement where the PSU sits. This is the result:
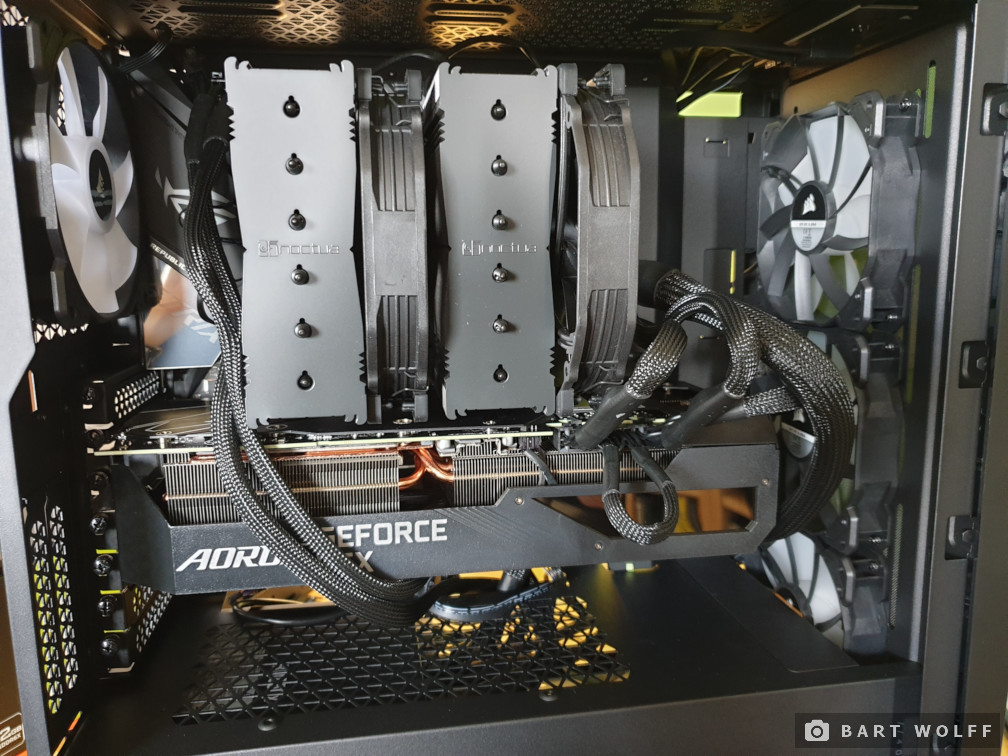
It’s a shit wiring job, but believe me when I say I’ve tried several more aesthetically pleasing options before settling on this. This was simply the only semi-decent way I could figure out to get everything connected. The PSU cables were just a bit too short and the case was a bit too cramped to do a “proper” job on it. Longer and/or more flexible cables could fix most of this, but alas, I didn’t think I’d need to order any. And to be honest, at this stage I was pretty much done with it. I was no longer having fun; I just wanted to get all of this crap connected so I could see whether the thing I’d been building for the past several hours would even work.
I’ve also had to remove the 3,5” drive bays from the basement in order to accomodate the wiring, and I don’t see any real way of putting it back in. Not that I really need that kind of storage when there’s still an unused 2,5” slot available, but still. Would’ve been nice to just have available.
Eh, whatever. The cables for my old PC are also an unhinged snakepit, and beyond the occasional cleaning and dusting I don’t see them ever.
Does it boot?
Before doing anything–even booting–I had to update the BIOS. For this the only thing you need is power to the board. You then simply insert a USB drive with the updated BIOS file and hit a button on the back of the board. It’s fully automated from there. The reason this is needed is that the board otherwise wouldn’t recognize my CPU, which is a bit newer than the board itself and not supported out-of-the-box. I kinda dread updating a BIOS, but this process was entirely pain-free.
After this comes the most dreaded moment for any new piece of hardware: turning it on for the first time. I hooked up my display, mouse, keyboard, network cable, and Windows USB boot drive, and pushed the button.
And then, nothing.
The system did seem to turn on, but the screen remained black. Total panic on my part followed. A fried graphics card was my immediate thought. Or maybe the BIOS got screwed up? Could the PSU be fucking me? It was such a pain to assemble, now would I have to take things apart again? Despair was looming ever larger. However, after some frantic googling, it turned out that I simply had to connect the display through HDMI instead of DisplayPort. Why, I don’t really know, but after switching display cables the screen finally turned on and I got into the BIOS.
Then the next hurdle. I could see the CPU and both SSDs were recognized in the BIOS, but I didn’t see the Windows USB boot drive.
Why, god, why? Have you no mercy?
Again, a series of trial-and-error switching around of various BIOS settings, but the USB wasn’t showing up. I eventually just tried a different USB, which thankfully did show up. Sadly this did mean I had to re-run the Windows media creation tool and create another boot drive. It was 7 PM at this point and I hadn’t eaten yet. I had discovered newfound respect for people who just buy pre-builts.
Installing Windows was fast. That’s a super-speed USB drive and an NVMe SSD for you. After quickly setting up Windows, the first thing I did was download the Nvidia drivers and a GPU benchmarking tool, as a first test for the card. My initial card for my previous build (the 1070 from my old PC) turned out to be defective and had to be replaced, so I was a bit worried about this happening again. Thankfully, it seemed to work fine.
Also, just look at this:
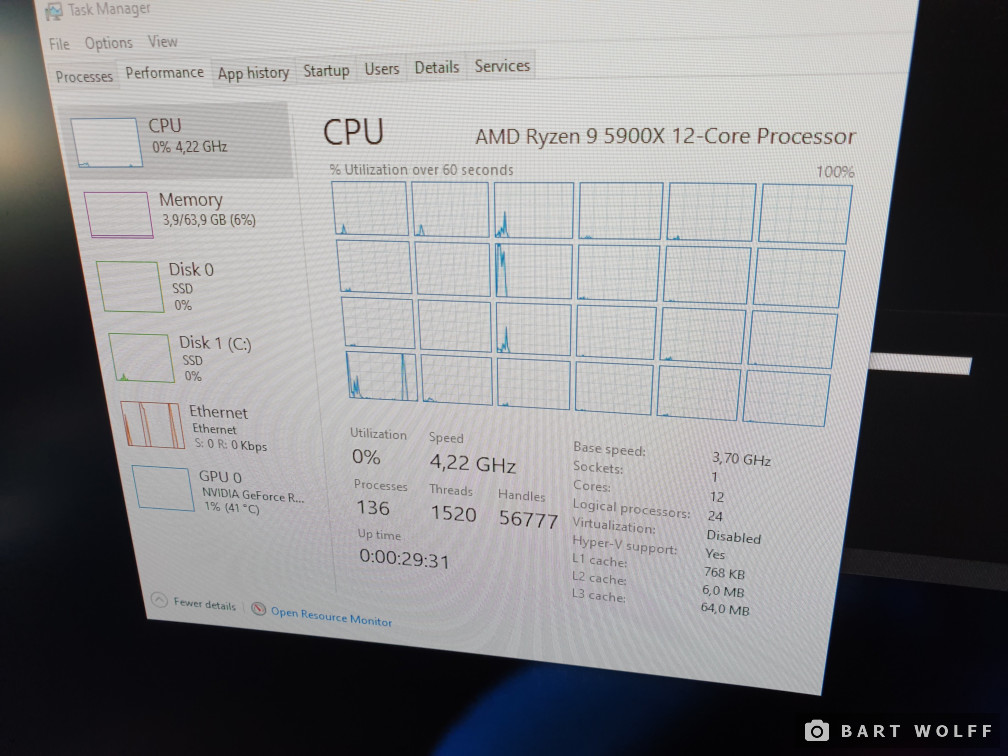
I mean, damn.
After eyeing up that sweet 12-core for a minute, I rebooted into the BIOS to enable the DOCP profile (essentially XMP for AMD systems) and unlock the full 3600MHz memory speed that my system is capable of. I then installed Steam and downloaded No Man’s Sky as a first gaming test. And I’m pleased to report that with everything on Ultra, DLSS enabled, and running on 3440x1440 with HDR enabled, I was pulling around 120-140 fps.
I hated the process, but god I love the results.
Bonus cable mess in full RGB glory:
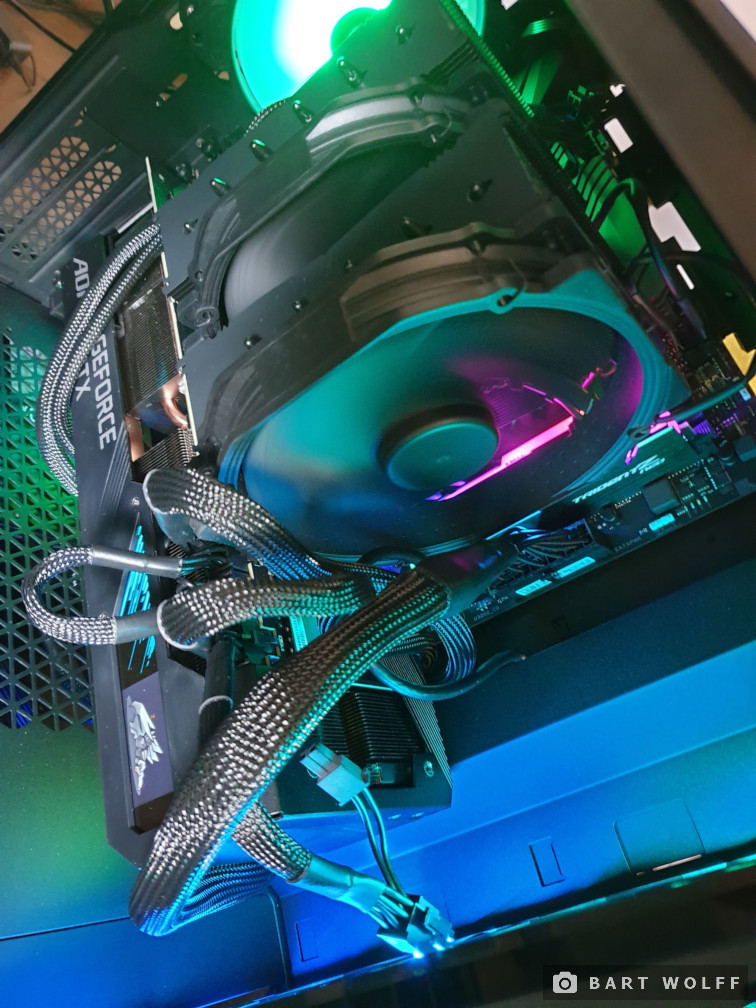
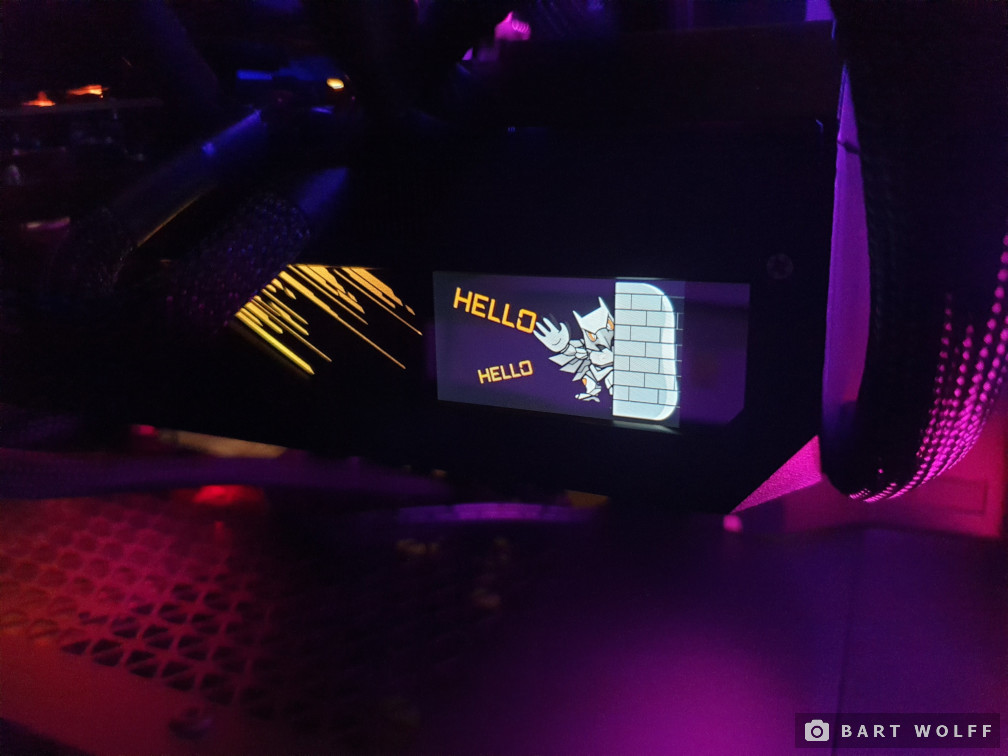
3080 Ti says hi:
